|
The Main Sanctuary of
Amun-Re on the 3. Terrace of the Temple Djeser djeseru |
update:
02.04.2009
|
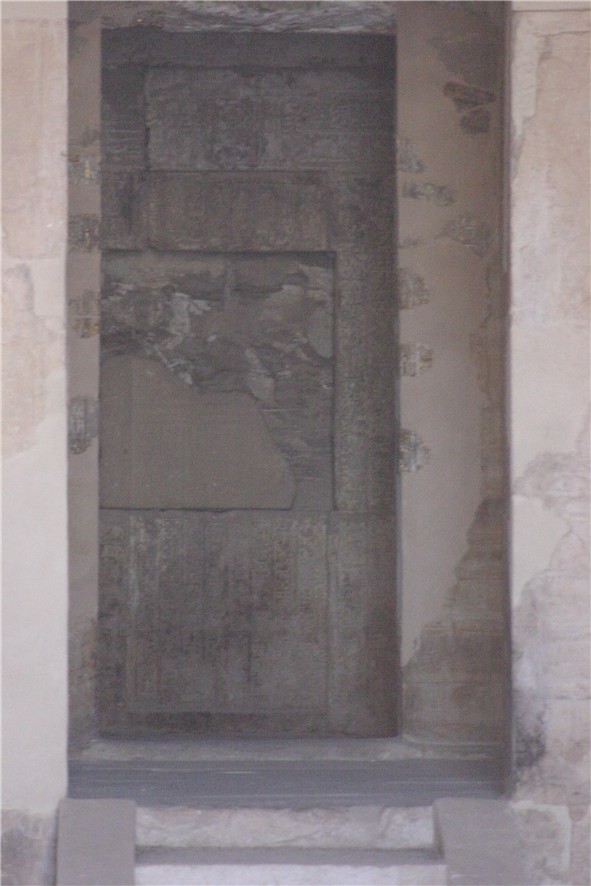
| Through the large granite gate shown below one enters the first
room of the main sanctuary of Amun where the divine bark was put down on a
pedestal (which had not been preserved) during the "Beauty Feast of the Valley".
The room impresses by its size, its vaulted roof and two Osiride statues of Hatshepsut (see
below).
|
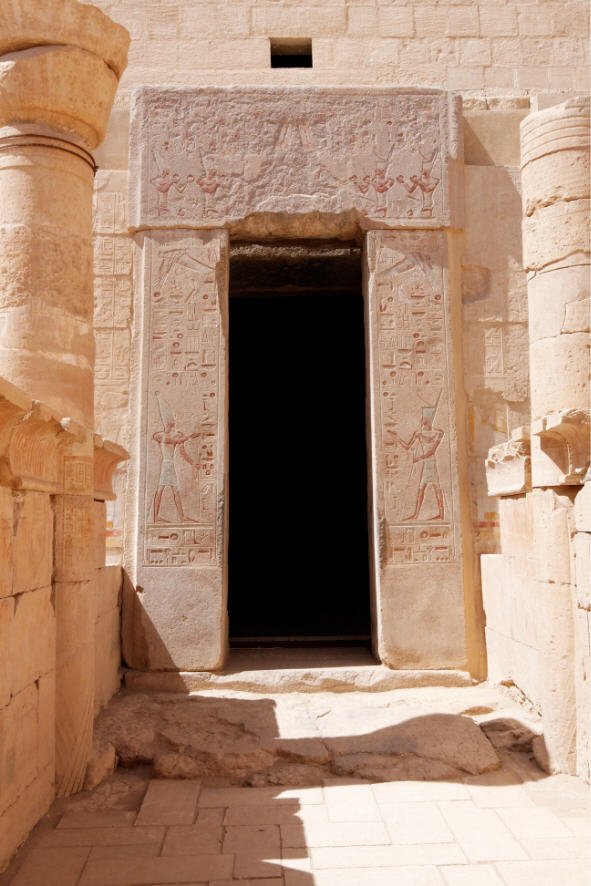
| The photo above shows the granite portal of the central
chapel of Amun. The decoration of the jambs was usurped by Thutmosis III.
On the lintel seated figures of Amun are presented in the middle of
the scene, right and left in front of him Hatshepsut and behind her
Thutmosis III are shown kneeling and offering vessels with water to
the god.
|
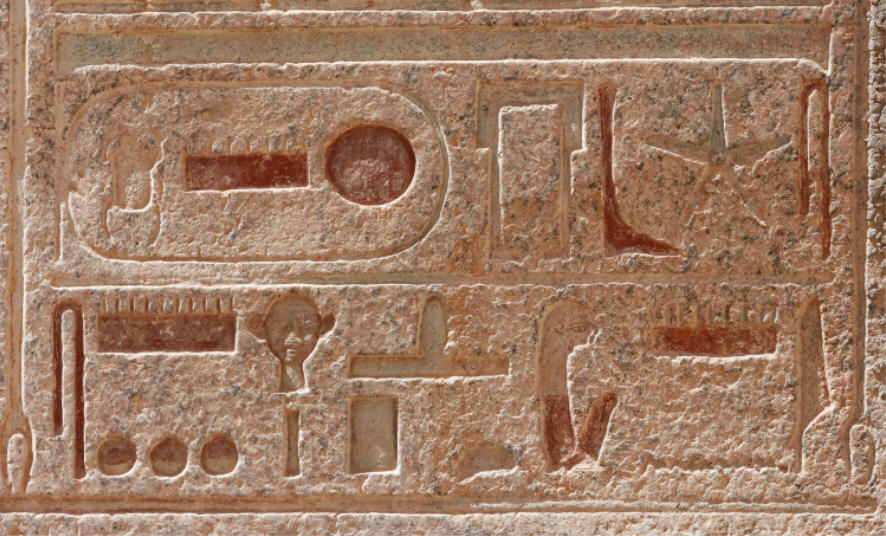
| The following two horizontal lines right and left (see photo
below) of the doorway contain - covered by a "pt"-sign - the name of the doorway
"The door of Hatshepsut (changed to Thutmosis III), Amun is satisfied by her
monuments [= sbA
aA-xpr-n-Ra Imn
Htp
Hr
mnws]" (Grallert, 2001).
|
| On the right of
and on the left of the entrance there remains of the portico which
is formed by the circulating columns of the 3. terrace and
inter-columnar walls have been preserved.
|
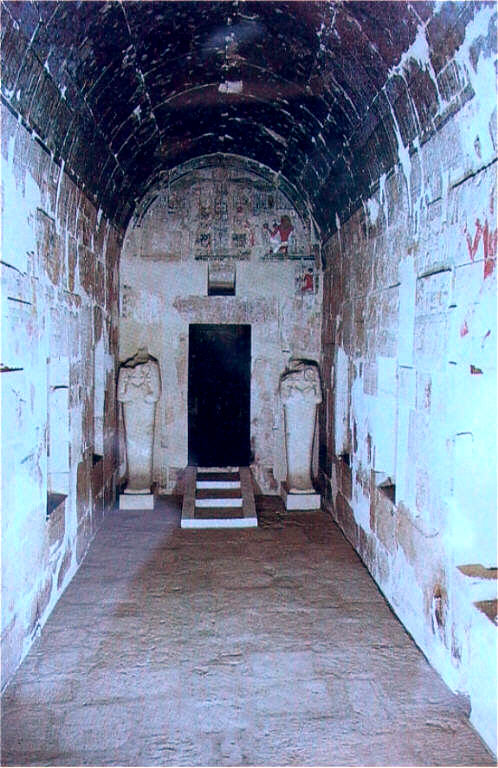
| The photo (photo by Werke, J., in: Szafra˝skj
(editor) "Queen Hatshepsut and her Temple 3500 years
later", Warsaw University Polish Centre of Mediterranean
Archeology in Cairo, 2001) above shows the west wall of the first room of the sanctuary (seen from the granite portal). In the background
a small ramp with stairs leads into the next room, on the right of and on the left of
the passage two two Osiride figures of Hatshepsut have been
erected. Originally, two further Osiride statues of Hatshepsut had been mounted directly behind
the granite portal (i.e. with regard to the photo they had stand
directly right and left behind the viewer), but have not survived. On the side walls one recognizes the
3 niches on each wall as shown above in the floor plan.
|
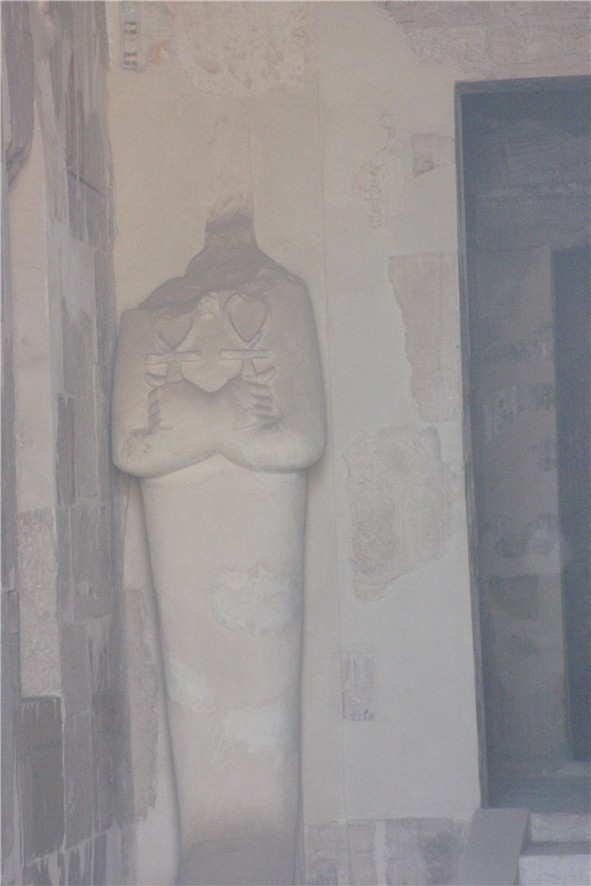
| Above a photo of the left statue taken with a telephoto lens and a high sensitive digital camera.
|
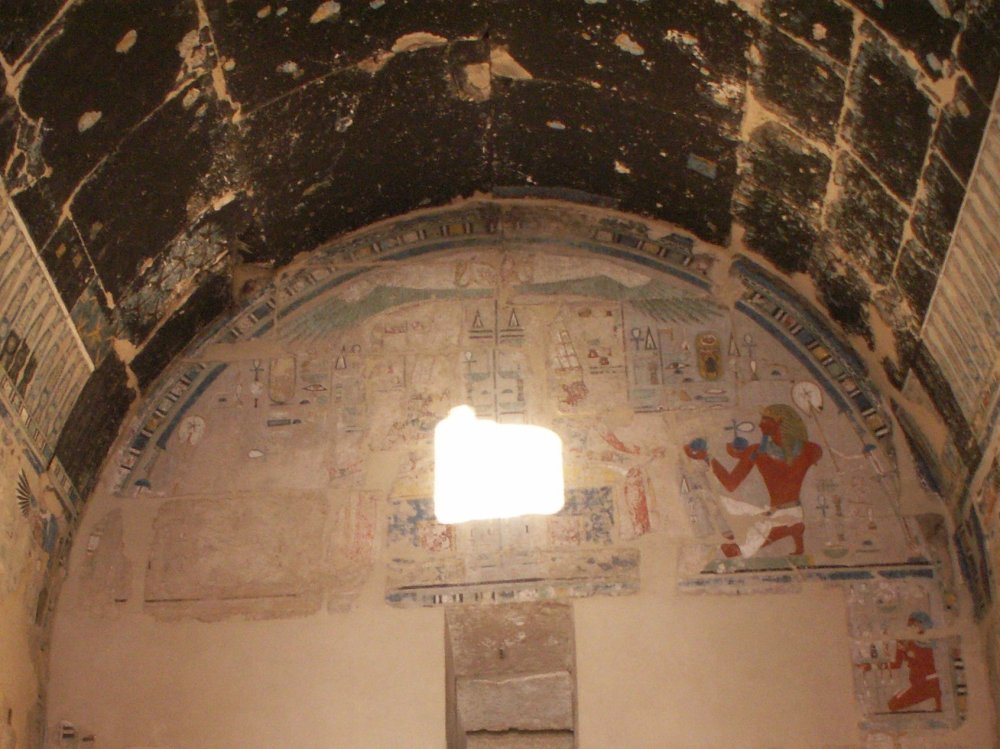
| Above door and window Amun is depicted twice
sitting on a throne in the middle of the scene, on the right and left
of Amun Thutmosis III is shown kneeling in front of the god and
sacrificing (the right side of the scene is well preserved; see below).
|
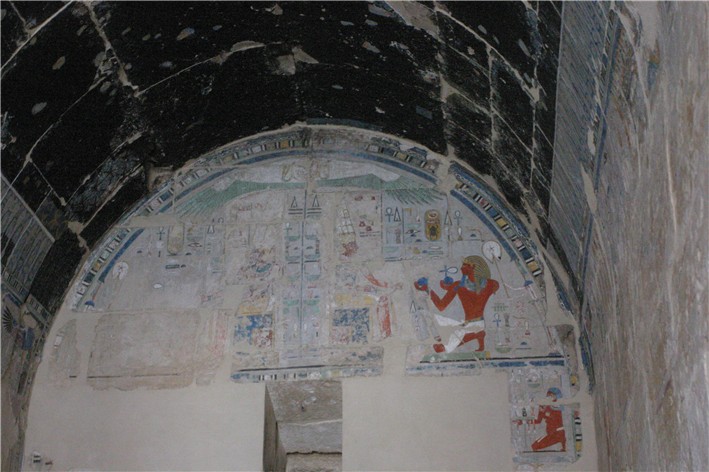
| Small square windows were cut above the doorway to the bark
room and to the sanktuary (the lower edge of the one above the granite gate is
seen in the photo above). The small window on the west wall of the bark room
(see photo above) was built a little bit lower than that on the east wall.
|
| On the winter
solstice the sun rose exactly in the line of the temple axis. Thus, the sun-rays entered
the bark room through the outer window touching first the seated figures of Amun
above the entrance to the sanctuary before they move down, entered the sanctuary
itself and illuminated the statues of Amun and
the king placed there (Karkowski, J.,
in: Szafra˝skj (editor) "Queen Hatshepsut and her Temple 3500
years later", Warsaw University Polish Centre of Mediterranean
Archeology in Cairo, 2001).
|
| Winter solstice at the temple of Hatshepsut (photo: SCA) |
| A comparable phenomenon is also well known from the temple of Ramses II at Abu Simbel.
|
|
However, this solar phenomenon is not visible anymore completely in its original order of
events -most likely because the windows had been changed or the whole temple
was shifted out of its original axis by earthquakes. |
| Above a photo of the rear western wall of the chapel
taken with a telephoto lens and a high sensitive digital camera. The
relief re-carved in the Ptolemaic period are nearly completely destroyed.
|
| The original chapel dedicated to Amun had been dismantled in
the Ptolemaic period and replaced by a sanctuary dedicated to Amenhotep. |
|